 |
| Made from scrap yarn pieces. Link to pattern before Heart Tutorial below! |
I'm so flattered that she thought of me! Really digging this blog, and today's Valentine's-related post was a good one. I'm not at Zero-Waste. It sounds unattainable. I was really glad to read a response to that on their blog. It was encouraging - I hope you find it so, too! LAZINESS is not a valid excuse, and lies to cover laziness are just sad. What did Yoda say? "Do or do not - there is no try."
Commercialism, Consumerism, and Crap - the 3 C's of any North American holiday. Better throw in Capitalism, too, because thanks to the pendulum hanging on that end of the spectrum, we have to deal with the onslaught of the other 3 C's.
Where is (real) love? Where is handmade? Where is old-fashioned and vintage?
Hiding. These are public enemies # 1, 2 and 3 to the Capitalists. They want you to buy their Crap and make them wealthy. And they're very good at doing just that.
 |
| Make a single heart really quickly; link @ end of post |
Go "Zero-Waste" and make your Valentine's card! Not much time left for today, but at the end of this post I've given 3 ideas you can do with paper scraps at the office or from newspaper. Pick up a bottle of wine and order-in dinner (buy candles!) if you're really running behind time!
I'm sure it will totally embarrass him, but my favourite Valentine's day of all time was last year, in full-swing of the winter Olympics. My boyfriend MADE me my Valentine's gift (excluding the dozen red roses - those weren't handmade. They did make me pretty happy, though!). He made his own origami paper box, with a divider for 4 compartments, and those compartments contained 4 different homemade chocolates and truffles he MADE himself from recipes he found online.
 | |
| I kept it, roses and all. Plastic-free, too. Beautiful! |
I have to say that they were the most delicious sweets I've ever received, and it really was because homemade tastes better. I've kept the box and dried the roses (the chocolates didn't make it, especially the homemade Turtles. They were the first to go!), and I'm thrilled that all of it is biodegradable. Call me un-sentimental, but I don't need a Valentine's gift from 2010 lasting longer than my bones or ashes. There's nothing beautiful about the plastic 3 C's outlasting you (in your lifetime or a long while after!).
So I know it's leaving it a little late, but if you are giving a Valentine's gift later today, consider the following:
- Homemade chocolates or cookies (sugar cookies are fast and easy, and you might even have all the ingredients already. You can cut heart shapes out of the dough with a knife, with or without a stencil - you can trace around a paper heart you cut out or do it freehand)
- Dinner you made yourself (candlelight strongly recommended! Beeswax/soy-based candles for extra credit! Comfort food like mashed potatoes or pasta is easy to make and satisfying to eat)
- Online donation (might I suggest a 'gift of peace' or a donation to "Give Love" helping Haiti?)
- If it has to be something tangible, stop by Ten Thousand Villages for something handmade with love
- Wine or fine coffee (a glass of wine a day is good for the ol' ticker!)
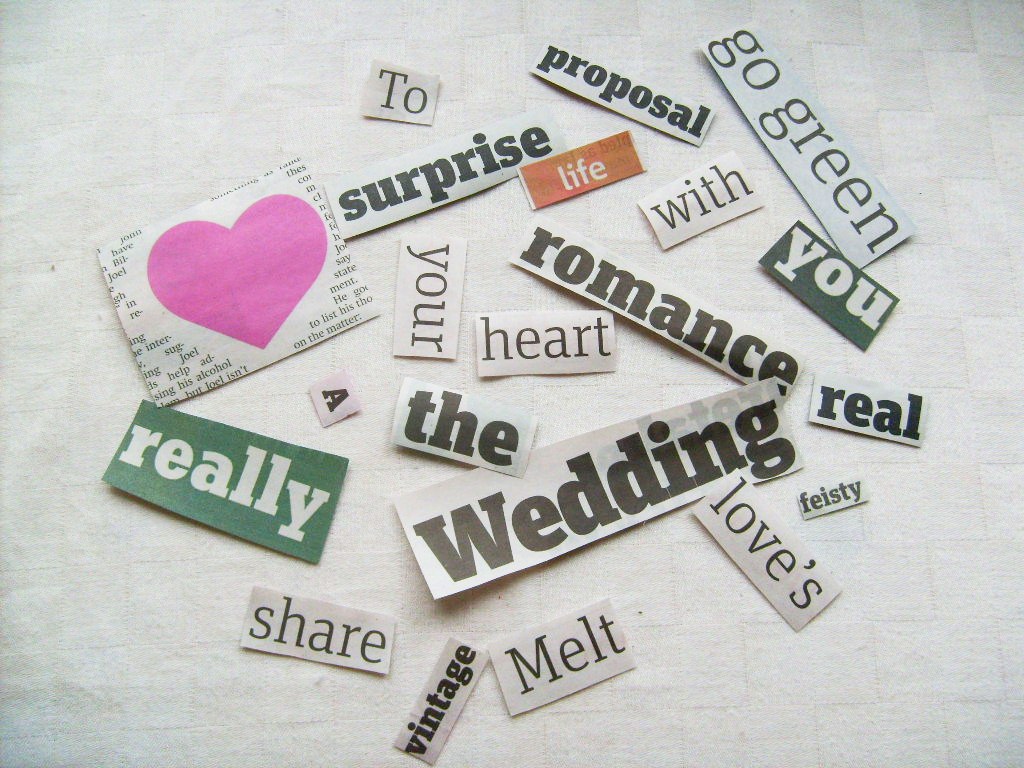
- The old-fashioned, handmade Valentine's card. All you need is red or pink construction paper. White paper doilies, glue sticks, markers/crayons, glitter, felt and trimmings optional, but also easy to do. Here's some quick inspiration I stole from the web:

Easiest to do AT WORK, RIGHT NOW: Bottom right corner-ish - the cut-out hearts from newspaper. Artist used Chinese character and roman lettering (i.e. english) newspapers for variety. All you need is tape or glue (or paperclips maybe? Could be cool!) and some string, and it can be any colour, any weight. Can use copy paper right out of the recycling bin.
 |
| My take on the idea in the web-inspiration collage above. |
 |
| Newspaper, scissors, string and paperclips. |
 |
| "Quit playing games with my heart!" (I couldn't help it) |
(Save the paper scraps - you could use them on your Valentine's card. I was too lazy to form a phrase from these. Sorry.)
 | |||
| Turns out crazy ransom letter writers are very patient people. |
Also using office supplies: shredded paper strips = quilling! Quick tutorial here: http://www.ehow.com/how_4900318_quill-the-basics.html
Make a heart, or even EASIER: Make several coils (spirals, as in you wrapped it around a pencil and that's it) and glue/tape them onto heavier paper or cardstock (or construction paper, etc.) in the shape of a heart!
 |
| Template for a paper heart out of coiled ('quilled') shredded document paper. Glue onto a sheet of cardstock, etc. |
More adventurous? If you have newspaper (any paper will do - coloured, especially! I've done one sheet black and white text newspaper & one coloured Valentine's Day advertisement newspaper sheet - looked cool), you can make a Scandinavian woven paper heart like my lovely Danish neighbour used to do. Tutorial (my own) below and a link to someone else's on YouTube. It's not difficult, but it is fussy. Skip if you have a short attention span/limited patience for fiddley things!

Here's one I just whipped up - the trick is to NOT use two different weights of paper. I did, and it shows. Oh well. Incidentally, it'll eventually be hanging from a bottle of something to drink, not volumetric flasks....
 |
| Leftover Christmas wrap, |
 |
| pink and black construction paper scraps, |
 |
| ribbon scrap, glue and chalk. Instant Valentine's card! Next step: buy booze! |
Happy Valentine's Day, fellow Green & Broke folks!
Don't forget to show your love to the environment as well as your loved ones.
(No loved one(s)? How about giving anonymous Valentine's to some of the singles living in your apartment building? To have love, you must give love. A surprise like that might just make someone's day a million times brighter. Let that little light of yours shine! A single person has a lot of unused 'love' to give - no excuses not to share it with others! Give!).
 |
| My perfect fiancee: last year, handmade; this year, vintage. |
Links:
Crocheted Heart Garland link (not on Ravelry, amazingly enough!): Skip to My Lou's Heart Garland
______________________________________________________
SCANDINAVIAN WOVEN PAPER HEART TUTORIAL
I'm actually sick at home today (of all the days to feel very unromantic...!), and the only thing I can seem to get done is making Valentine crafts and photographing them after wards.
Here's what I did to the depressing cover of the Metro today:
 |
| Break-up hearts. How joyous. |
 |
| Way 2 B positive! Life isn't all bad! |
 |
| Choppy Choppy! 2 long rectangles. |
 |
| Fold long, skinny rectangles in 1/2 |
 |
| Measure across fold. Divide in 3; mark |
 |
| Cut from fold up (3/4 of the way to top) |
 |
| Trim uncut, unfolded end like this |
 |
| Repeat (other rectangle). Preview layout |
 |
| Weave. Start with uppermost 'finger' |
 |
| Inside, outside, inside. Next: reverse it |
 |
| Finished heart |
 | |
| Finished heart, backside |
In words:
1. Cut two long, narrow rectangles of the same length from thin paper (newspaper and wrapping paper are good choices). Different colours are good, different weights/thicknesses of papers are not!
2. Fold each rectangle in half length-wise. You should then have two 2-ply rectangles (and not a 2-ply square - it won't work if the rectangles aren't long enough).
3. Save yourself some time by stacking the two folded rectangles on top of each other. Keep the folded edges towards you.
4. Measure the width along the folded edge. Mark equal thirds; for example, in my photos the width was 10.5cm, which meant each 'finger' I cut was 3.5cm wide. You can eye-ball this step if you don't have a ruler or tape measure, but I recommend measuring, particularly if this is your first attempt at making these! Mark both the top folded rectangle and the other one stacked beneath it.
5. Cut the 'fingers' at the marks (if you can confidently hold both folded rectangles firmly, you can cut through both folded rectangles at once. I don't recommend this if you aren't a skilled paper-cutter, and especially not if the paper is shiny and slippery!). Cut to about 3/4 of the way to the 'top' of the folded rectangle (bottom is folded edge, top is the two leaves of paper, open). Repeat on other rectangle, always cutting from the folded edge up.
6. Shape the ends as shown. You can tightly hold both rectangles on top of each other and cut through both (again, only if you're a wiz with scissors and paper!), or you can do the sane thing and grab a salad-sized plate or bowl and trace an arc on the 'top' edge of the rectangle (the uncut, loose leaved end) with a pencil. Cut along the lines (do the same for other rectangle).
7. Align your two heart-halves as shown (lay one on top of the other), to give you an idea of the finished shape. Make changes to the curvature of the top edges now, if required (often the case!).
8. Weave! This is the tricky part, and where my tutorial is weak - a video would sure help! Starting with the uppermost 'finger' of say the right heart half (the one closest to the curved edge), put the folded edge of the 'finger' between the finger of the left heart half (i.e. - feed through the middle of the other 'finger'!). Now your same finger will be coming up to the 2nd (middle) finger of the left heart half. Do the opposite - feed the 2nd finger of the left half through your right heart-half finger that you're working on. Wiggle it along until your same right heart-half finger meets the 3rd (bottom) finger of the left heart-half. This time, feed your finger between the leaves of the left heart-half finger. In summary, you went INSIDE-OUTSIDE-INSIDE the 1st, 2nd and 3rd 'fingers' of the left heart-half.
9. Weaving continued! If you went INSIDE-OUTSIDE-INSIDE with the first (uppermost) right heart-half 'finger', then for the middle (second) right heart-half finger, you will do the opposite (OUTSIDE-INSIDE-OUTSIDE), in the same manner. For the final finger, follow the same pattern as the first finger (doing the opposite of the last weave) - INSIDE-OUTSIDE-INSIDE.
10. You're finished! You can use it as a basket, or glue/double-sided tape it shut for a flat Valentine's card (or placemat or coaster, etc.). You can do this with fabric (felt's a good choice), too!
Can't follow this?! JellyfishJelly.com has a great YouTube tutorial, and on their website PRINTABLE TEMPLATES for cutting out! Now that's easy!
No comments:
Post a Comment